My library has a tradition that every December we host a Polar Express family program. Over the years, it's grown in popularity so much that we are doing 4 different sessions and we
still have a 2 page waiting list! Originally done by my coworker (who retired at the end of this year) I helped her out this year and will be fully taking over the program next December.
The program is open to all ages and runs a little over an hour (depending on how quickly we get through everything) beginning at 7:00 p.m. (the library closes at 9:00 p.m.). Due to space constraints and craft item limitations, we take roughly up to 50 kids per program. Patrons
must register ahead of time and check in at the start of the program to make sure they are on the list. It's that popular in my town!
As the families check in, they set their coats down onto a chair in the front of the room and then head to the back to complete our crafts. This gives latecomers (a frequent issue at my library) a chance to arrive without interruption. We give them roughly 20 minutes to complete 2-3 crafts.**
**
I should mention that for this program we have 2 staff members and ask for about 4 teen "elf" volunteers to help with the crafts and changing over the tables. One staff member dresses up like a conductor and the other wears pajamas, just like in the book "The Polar Express". The teen volunteers usually wear varying degrees of elf-wear, based on their comfort level.
We try to do different crafts every year. Though my coworker always liked to do some sort of hat with the kids' names on them and some sort of ornament. This year, we did 3 different crafts:
1.
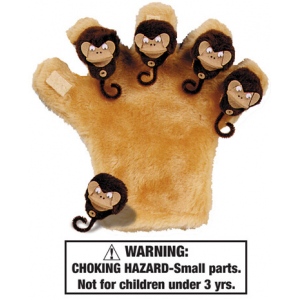
Elf Hats:
- Red and green paper head bands
- Pre-cut elf ears (cut from manila file folders)
- Pre-cut triangles for the elf hats
- Red and green or other festive pom poms
- Makers/crayons
- Staplers
Assemble with staples and decorate as desired.
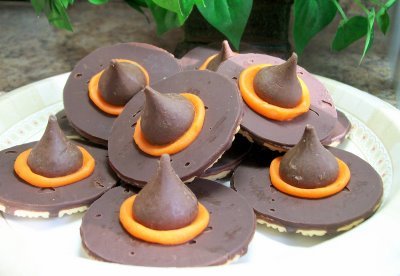
2.
Elf Ornaments
- Ornament kits from Oriental Trading (such as
this one)
- Foam glue (found at my local craft store or online)
- Sharpie markers to let families personalize their ornament
Assemble according to directions.
3.
Christmas Countdown Paper Chain
- Instruction/coloring sheet
-
Christmas Tree Chain
- Red and white mints
- Glue sticks to glue mints to paper
Create a paper chain with number of links equaling the number of days until Christmas. Color the instruction sheet and glue mints on. Attach chain to the bottom of the sheet. It should look something like this:
After about 20 minutes, we need to get everyone into the seats in the front of the room to read
The Polar Express by Chris Van Allsburg. One staff member leads the kids around the room in a train/conga line while saying some sort of train rhyme, such as "I'm a Little Choo Choo Train" which goes like this:
I'm a little choo choo train
Chugging down the track
First I'm going forward
Now I'm going back
Now my bell is ringing (
make ringing noise)
Hear my whistle blow (
make toot toot sound)
What a lot of noise I make
Everywhere I go!
(Repeat until you have most/all kids chugging along with you.)
Then we have the families all gather at the front of the room in the chairs and play "Conductor Says" with the kids. This is exactly like "Simon Says". Whoever is dressed like the conductor can make up silly commands as long as they include, "Conductor says have a seat with your parents" and "Conductor says parents turn off cell phones and other electronic devices!" (We added the last part after a dad spent the entirety of the story on his iPad! In the dark!)
Then the person wearing the pajamas usually reads the story. We have a Power Point version with the illustrations that we project on the big screen in the meeting room. We turn out the lights to create a feeling of Christmas ambiance.
During the story, our teen volunteers clear all of the craft items off of the tables and set up cookie decorating items on them.
After the story, we have the kids get their wiggles out with some songs. We start with a version of "Head, Shoulders, Knees, and Toes" called "Hat, Whiskers, Belt, and Boots" in honor of Santa:
Hat, whiskers, belt, and boots
Belt and boots
Hat, whiskers, belt, and boots
Belt and boots
Twinkling eyes and a little cherry nose
Hat, whiskers, belt, and boots
Belt and boots!
Then we do a couple of more fun songs, such as "The Reindeer Pokey", "Rudolph the Red Nose Reindeer", or "Santa Clause is Coming to Town".
While we are singing, the teen volunteers and the person wearing pajamas open up the kitchen which has sugar cookies set out on plates and hot cocoa.
After the songs, the Conductor mentions that she thinks she hears a knock on the door. She goes over to the door to the chair/table storage area and out walks Santa! (Note: we purchased a Santa suit for the library years ago and have gotten a
lot of use out of it! We have a couple of older male connections who are good at personifying Santa and are generous enough to volunteer their time.)
While Santa is making his entrance, one person brings out an armchair hiding in the coat closet for Santa to sit in. They also bring out a big bag with gift boxes. These are small favor boxes that we make ahead of time which have some tissue paper and a silver bell inside.
After Santa gets settled in, we explain to the families that we will split them up alphabetically by family last name (which we create and Excel sheet of ahead of time). The first half will visit with Santa as we call them by name. The second half will go get some hot cocoa and a cookie to decorate while they wait and then we switch. The kids get a quick visit with Santa and a box with the bell in it just like the boy in the book! The elf hat craft was a genius idea by my coworker because the kids put their names on them so Santa can call them by name!
That's it! Then we clean up and gear up to do the entire thing again the next night!
Do you do a similar program at your library? What activities do you include?


 5. Use more props in storytime: Katie Salo has a great post on the ALSC Blog about storytime props. So far, I've made and used a song cube with varying degrees of success. I also have a listening dust box that I use when I do preschool storytime. I'd like to try different types of props this year to make my storytimes more interesting.