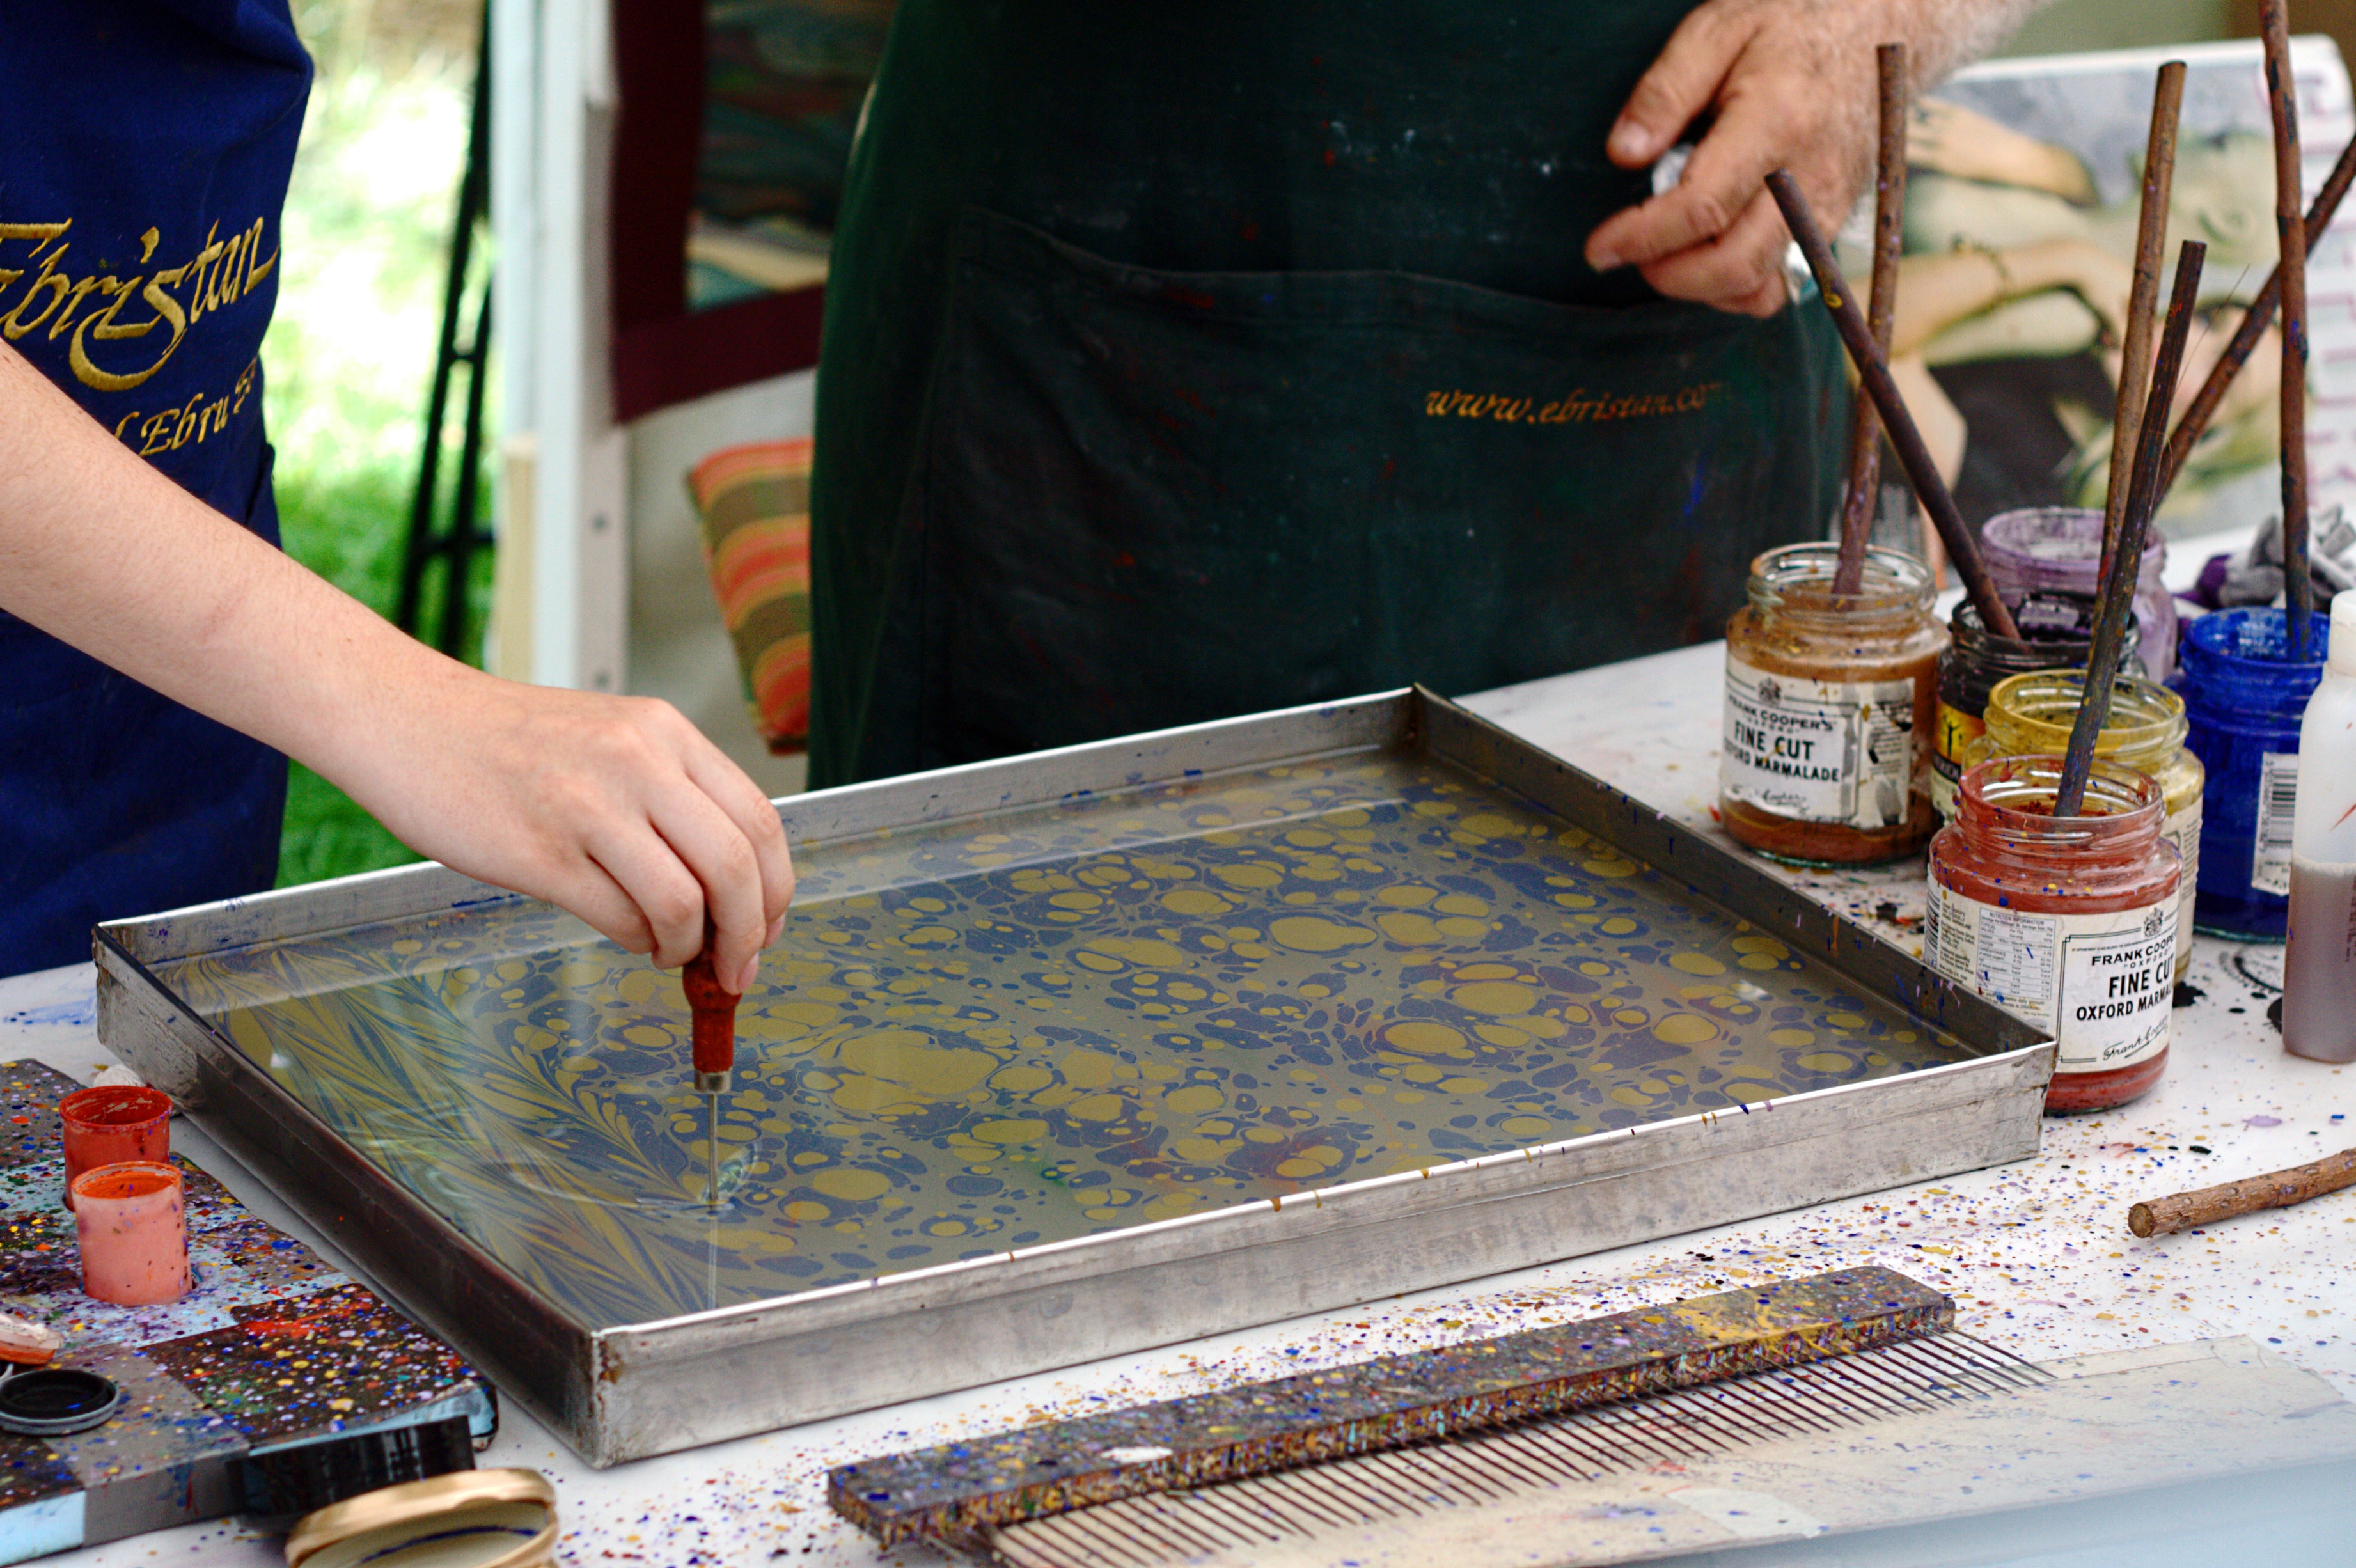
 |
| From: en.wikipedia.org |
I went to Amazon and purchased the following items:
- 2 Marbling Kits - This is a special ink that "floats" on top of the water.
- Rice Paper - I've seen other people create marbling onto regular paper, but I wanted to try it with some special Japanese paper since it was for Anime Club and they love all things Japan. This paper is thinner and has a smooth side and a textured side. Its thinness makes it more delicate to handle, but makes it better wrapping paper than a regular piece of paper.
- Aluminum Trays - It was nice because these came in bulk at a reasonable price. That way, the teens could each have their own tray.
Other items to have on hand:
- Straws - These were used to swirl the ink in the water. Teens could either blow through the straw or use one end to stir around the colors.
- Paper towels/newspaper - The teens set the wet rice paper onto these to let dry.
After the teens arrived and settled in, I had them gather around a table so I could demonstrate how to drop the ink and dip the paper.
1. You should fill the tray with about 1 to 2" of water.
2. Take one of the ink colors and carefully squeeze a drop just on the surface of the water. You should notice the ink immediately spread out if it's done correctly.
3. Continue adding drops of ink in your desired colors.
4. Use a straw to swirl the ink around.
5. Starting with one end of the rice paper, carefully dip the paper into the water to catch the ink.
6. Immediately but carefully remove the rice paper from the water and set on newspaper or a paper towel to dry.
Here's a link with more instructions.
That's it! Below are some photos of the teens' masterpieces.


No comments:
Post a Comment