 |
| From: http://www.pcrush.com/ |
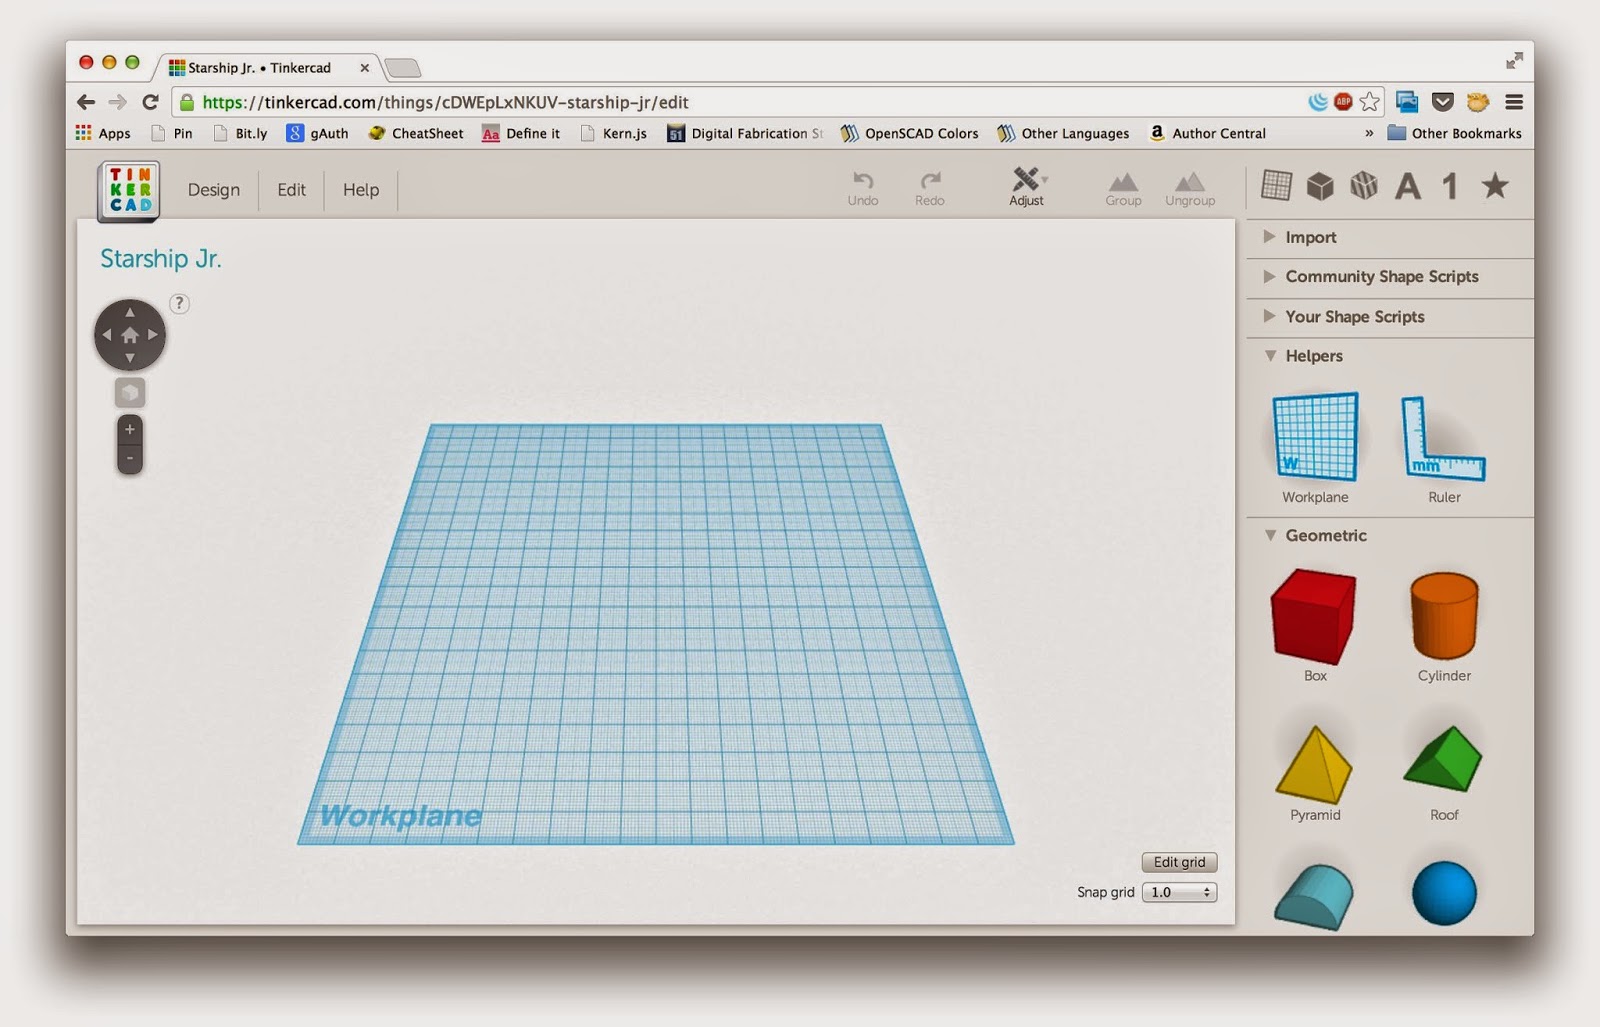
Knowing how complicated 3D design can be, I was a little lost on how to create a beginners program for teens. However, one of the IT staff and I discovered a free program online called Tinkercad. The nice thing about Tinkercad is that the interface is pretty easy to learn/use. Instead of having to start from scratch, users can choose from a plethora of pre-existing shapes to create a design. There's also a gallery similar to Thingiverse where you can download someone else's shared design and tweak it.
 |
| From: http://teambudmen.com |
I should mention that I had no prior experience with 3D printing/design and found it pretty easy to pick up by watching the various tutorial videos on the Tinkercad website.
I opened the program up to grades 6 to 12 and allotted an hour and a half for instruction/design time. This seemed to be enough time for most of the teens, though some could have used more.
One issue I ran into is that each teen will need a valid email address to create a Tinkercad account. If they are under 13, they'll need a parent email. To save time, you might want to have the teens create an account at home before the program. (If they are under 13, the parent will need to confirm the account via email and complete a couple of other steps as well.)
As the teens arrived the day of the program, I asked them to log into their accounts. I briefly went over the program outline: we would watch and complete some short tutorials, then they would have the rest of the time to create a 3D design or two. Then I would "collect" their designs on a flash drive and print them out at a later date.
First we watched the introductory tour video on the home page. Then we clicked "Learn" at the top of the page and went through some tutorials together. These are the ones I found to be the most helpful:
- Learning the Moves
- Camera Controls
- Creating Holes
- Scale, Copy, Paste
- Die on the Workplane
When I found that some worked more quickly than others, I allowed those teens to jump ahead and finish some of the other lessons while they waited.
Then I mentioned some other features tips:
- How to get back to your dashboard/view other lessons = click on the Tinkercad logo on the top left side of the screen
- How to copy/tinker with someone else's design = click "Gallery" at the top of the screen
- How to save, name, and download a design
- What "Snap Grid" means = This is just a number that allows you to either be more or less precise with moving your design on the work plane. 0.1 is more precise than 1.0. This is handy if you are designing something that needs very specific measurements/sizing such as a machine part.
- I explained what makes a successful design
- It should have a relatively flat surface on at least one side. This is so the 3D printer has a good base to start adding the filament on the printer plate.
- If you have any "overhangs" on your design greater than a 45 degree angle, you'll need to add in a support straight down to the bottom to help the 3D printer print it. You can always cut it off later.
- No suggestive/inappropriate designs like guns or swear words.
Then I let them get to work. I periodically walked around to help as needed and to check on their progress. Some picked it up right away, while others seemed to struggle a bit. Depending on the number of teens participating, it might be good to have an assistant to help answer questions. I also guided them in saving their designs correctly (as an .stl file with their first/last name in the file name) before they left.
When the program was over, I walked around to each computer station and saved the designs on a flash drive. Then I copied them to the laptop that is connected to the printer itself so that I would have a back-up copy of everything. With the help of the IT staff over the next couple of weeks, we were able to print out everyone's design with glow-in-the-dark filament. As the designs finished printing, I notified the teens and they came back to pick them up.
Another thing I ran into is that some of the teens' creations wouldn't print due to design issues. I called these teens to let them know what needed to be changed/tweaked in order to print successfully. I gave them the option of making the edits at home and emailing them to me, or they could come in to the library and I would walk them through it.
Here are some of the finished designs:

All in all, this was a very successful program. We we at capacity with registration, so I'm trying it again for Teen Tech Week and we are rapidly filling up again. Depending on how the program goes next month, I might try an intermediate class using a program called Sketchup.
I also might combine the success of my Minecraft Club with 3D printing and try out a program called Mineways where you can create something in Minecraft and print it out on a 3D printer. So cool!
Have you ever done a 3D printing program? Any other tips/tricks I missed?
Thank you for this! Our program is in a few weeks and I was looking for guidance!
ReplyDeleteGlad I could help!
Delete